Introduction to modern triggers in HelpDesk for SharePoint
What is a trigger?
A trigger is one of the automation tools available in HelpDesk. Many default triggers are available out of the box. These triggers send notifications to agents and requesters about significant events. For example, a trigger notifies clients when a new reply is added to a ticket:
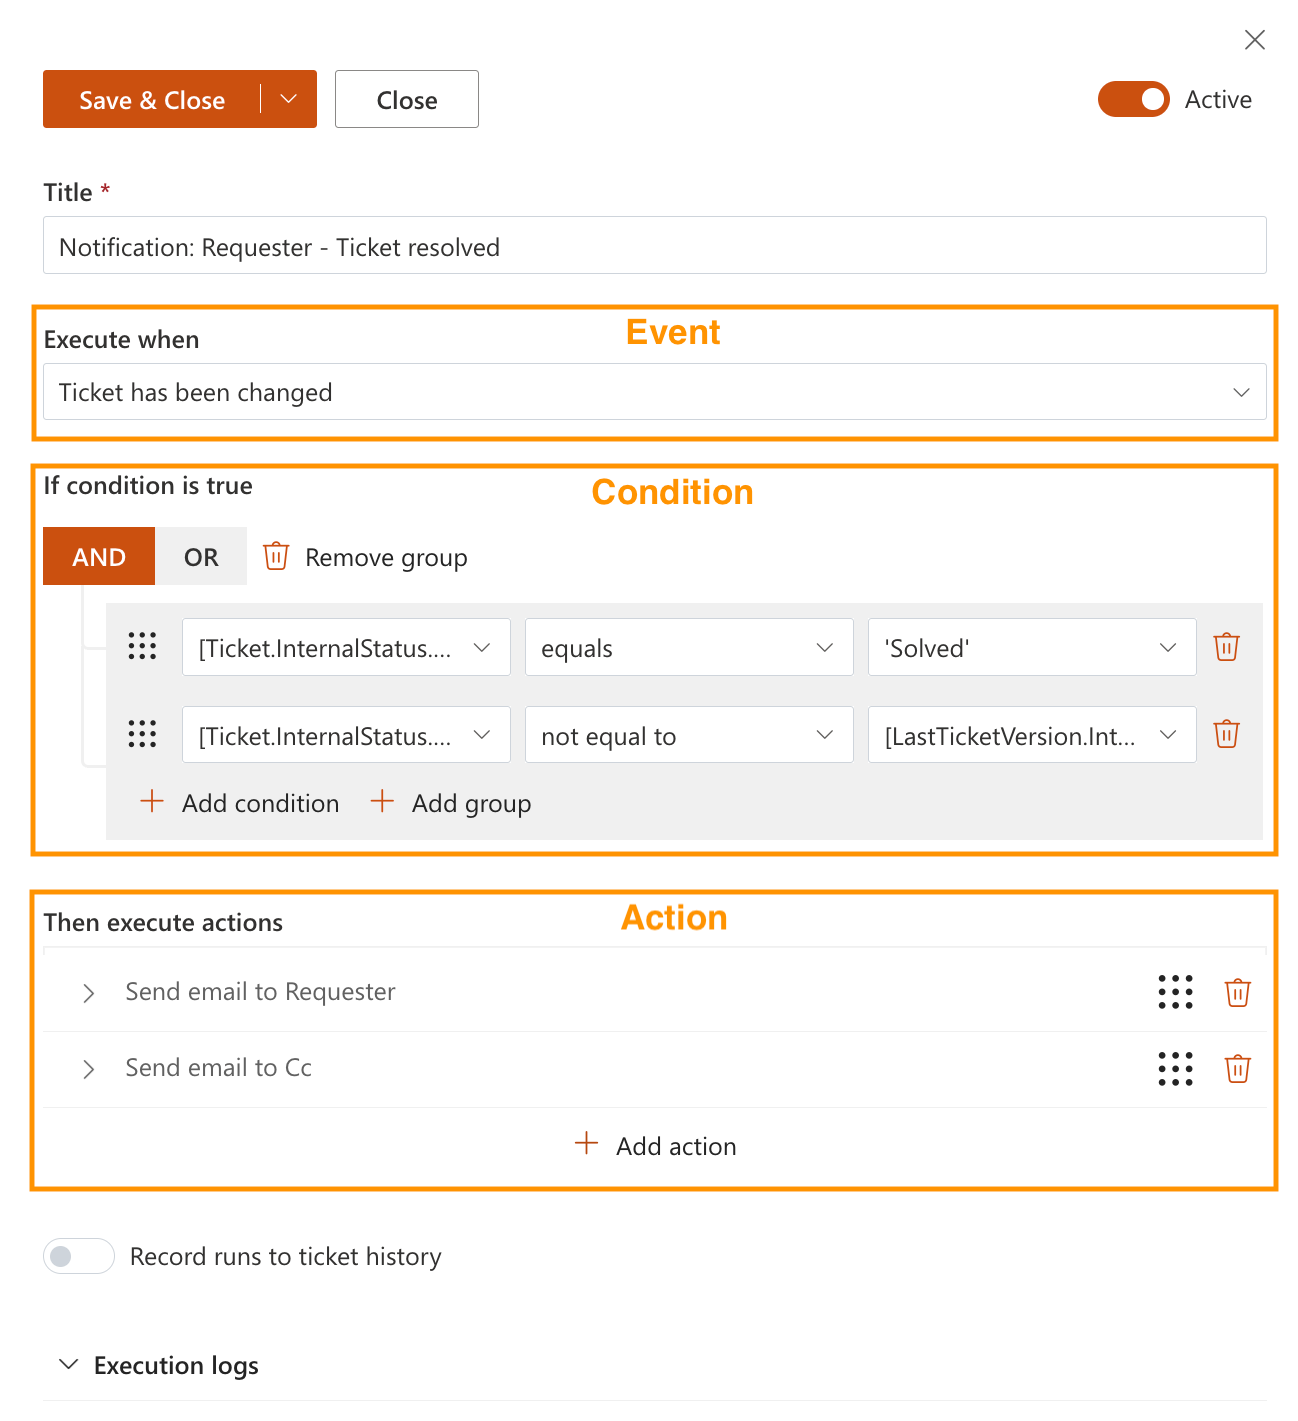
Whenever a new comment is added, HelpDesk runs the trigger. It then checks the condition to determine whether the added comment is not the initial comment and is a reply. If the condition is met, the trigger sends notifications to the requester and CC contacts. Trigger settings define when to run the trigger, what conditions to check and what actions to perform. You can create triggers for other cases. More information is provided in the following sections.
How to create a new trigger?
Let’s create a trigger that assigns sales tickets to a specified agent and tags them accordingly.
New trigger
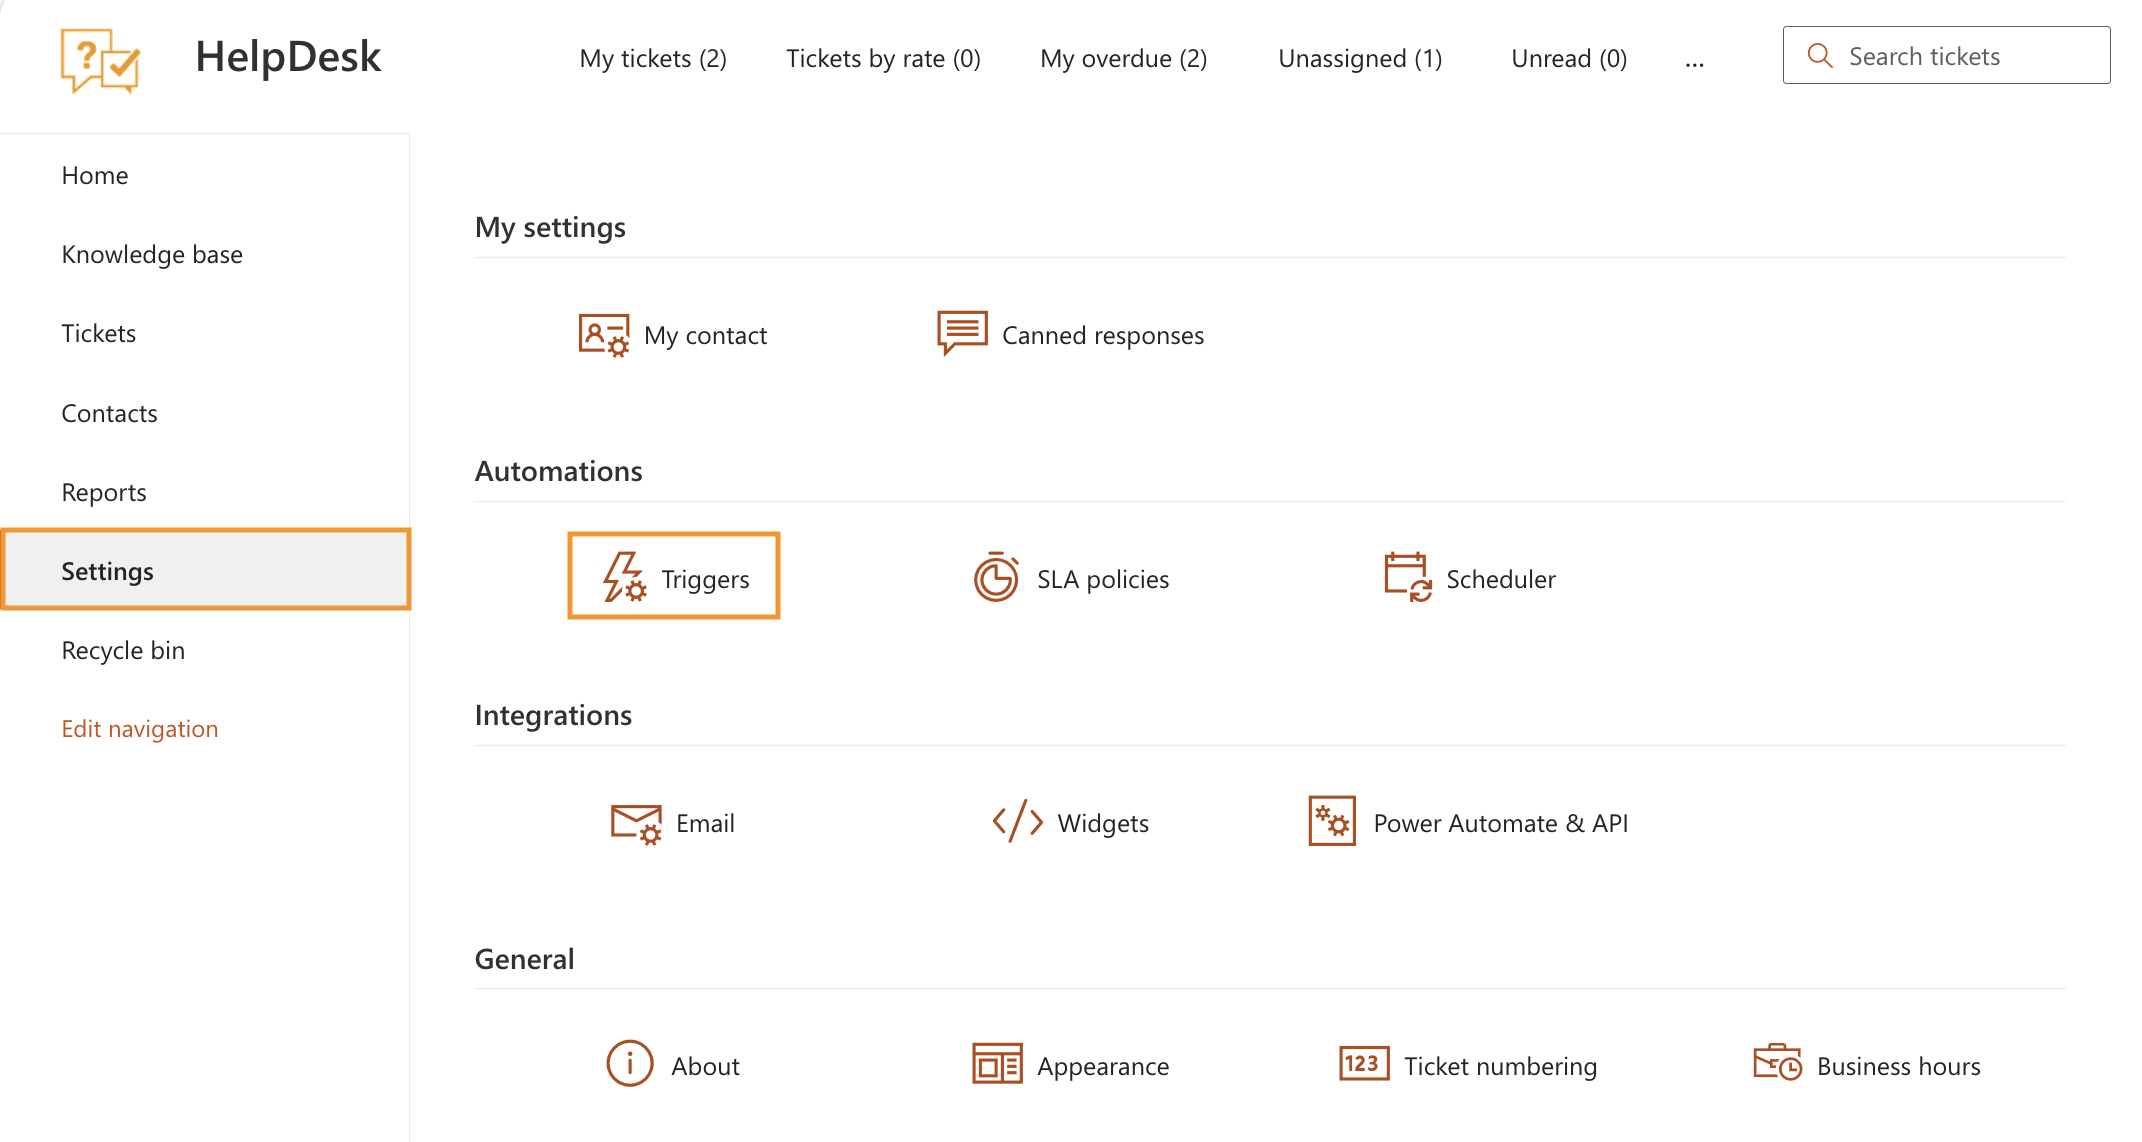
Open HelpDesk settings and go to the Triggers tab.
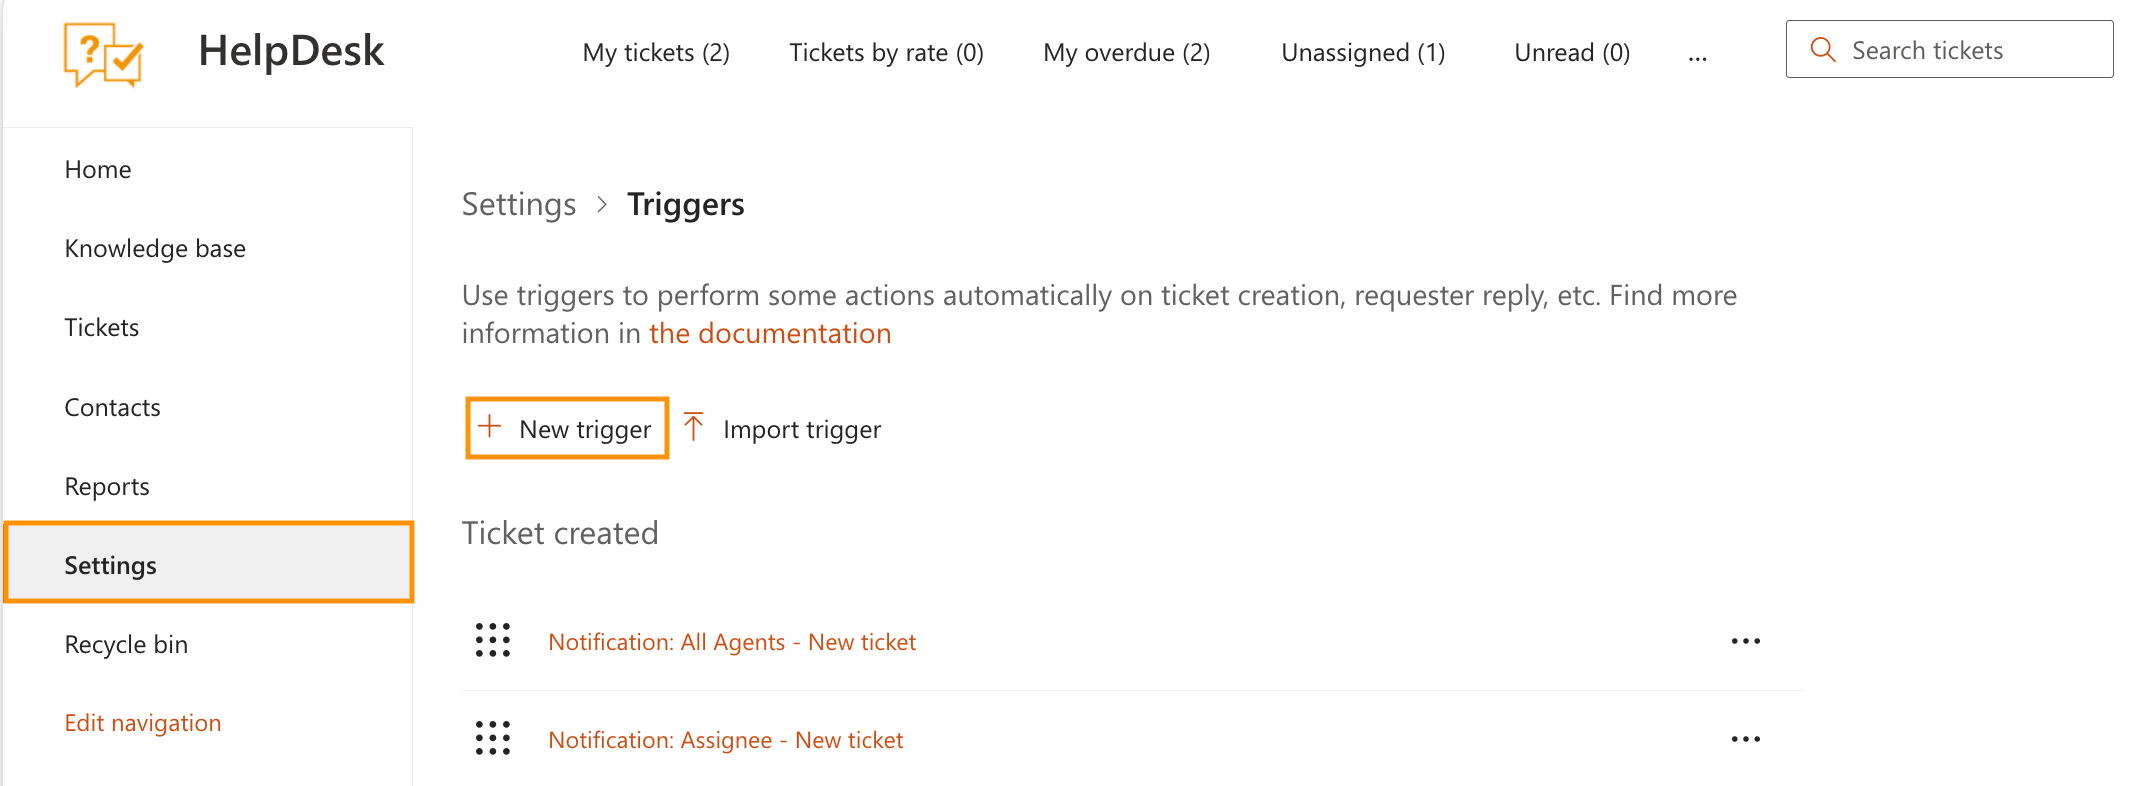
Create a new trigger.
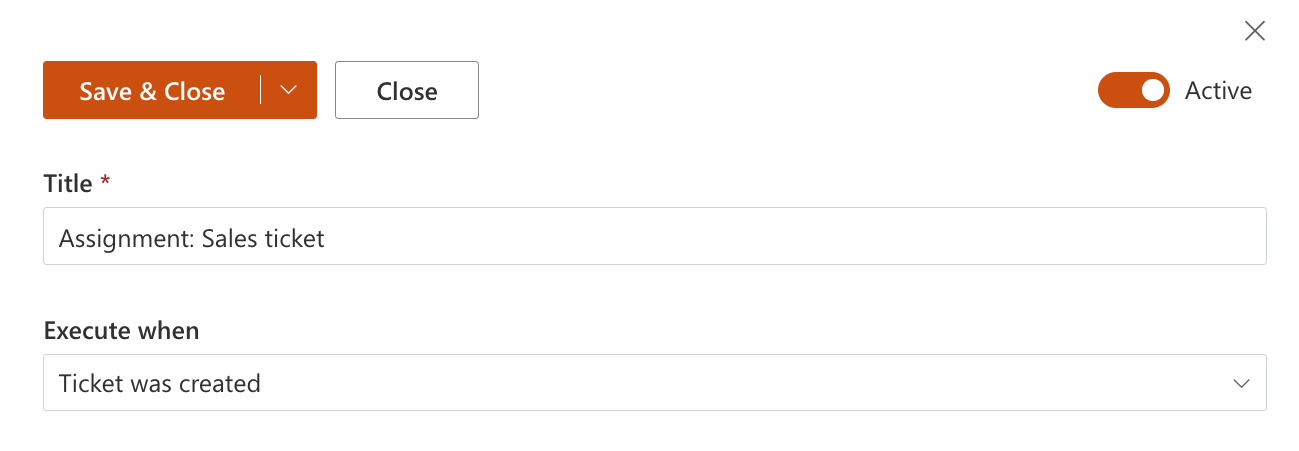
General properties overview:
Activedefines whether HelpDesk will run the trigger for a specified event; use this option to temporarily disable some triggers;Record runs in ticket historyadds a record to the History tab of a ticket form when the trigger performs at least one action;Titleis a name used to identify the trigger in the list;
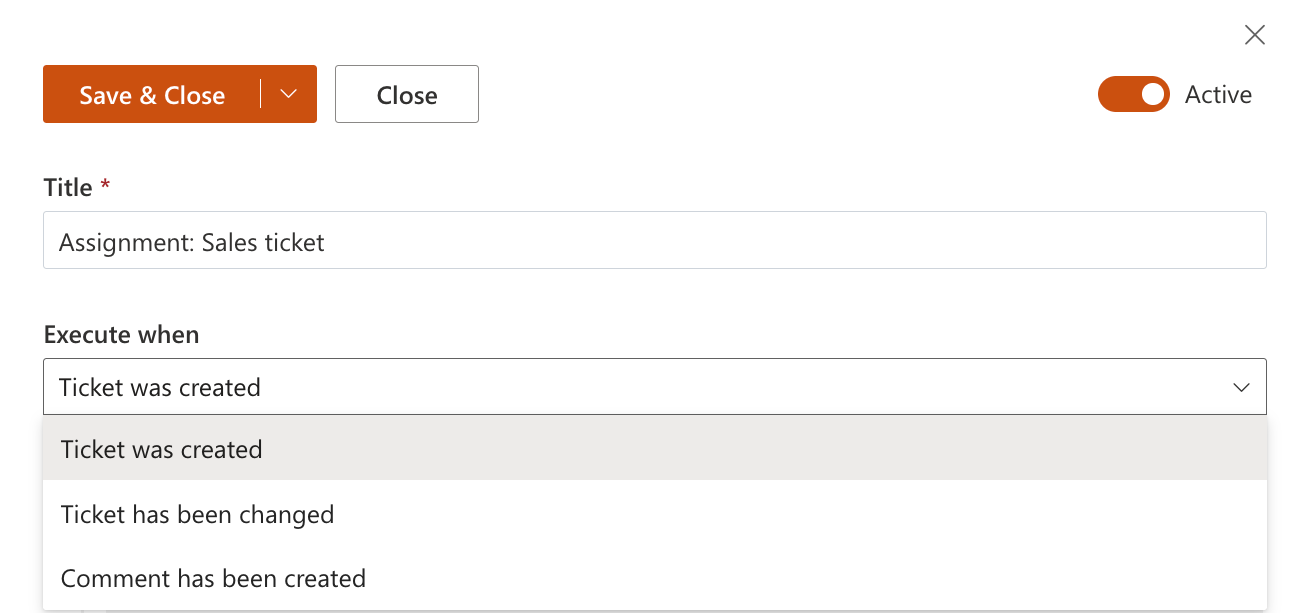
Set the general properties as follows:
Events
The Execute when field contains possible events within your HelpDesk site that can start the trigger. Their names are self-explanatory:
Ticket was created, a new item on the Tickets list is created;Ticket has been changed, an item on the Tickets list is modified;Comment has been created, a new comment in the existing ticket is created.
For this example, select the event Ticket was created.
Conditions
The trigger will execute the specified actions only if conditions are true. You can combine them with logical operators AND/OR, select ticket or comment fields on one side, and enter custom values on the other. It is possible to build more complex conditions using functions and regular expressions. Review the article Building advanced conditions for more information.
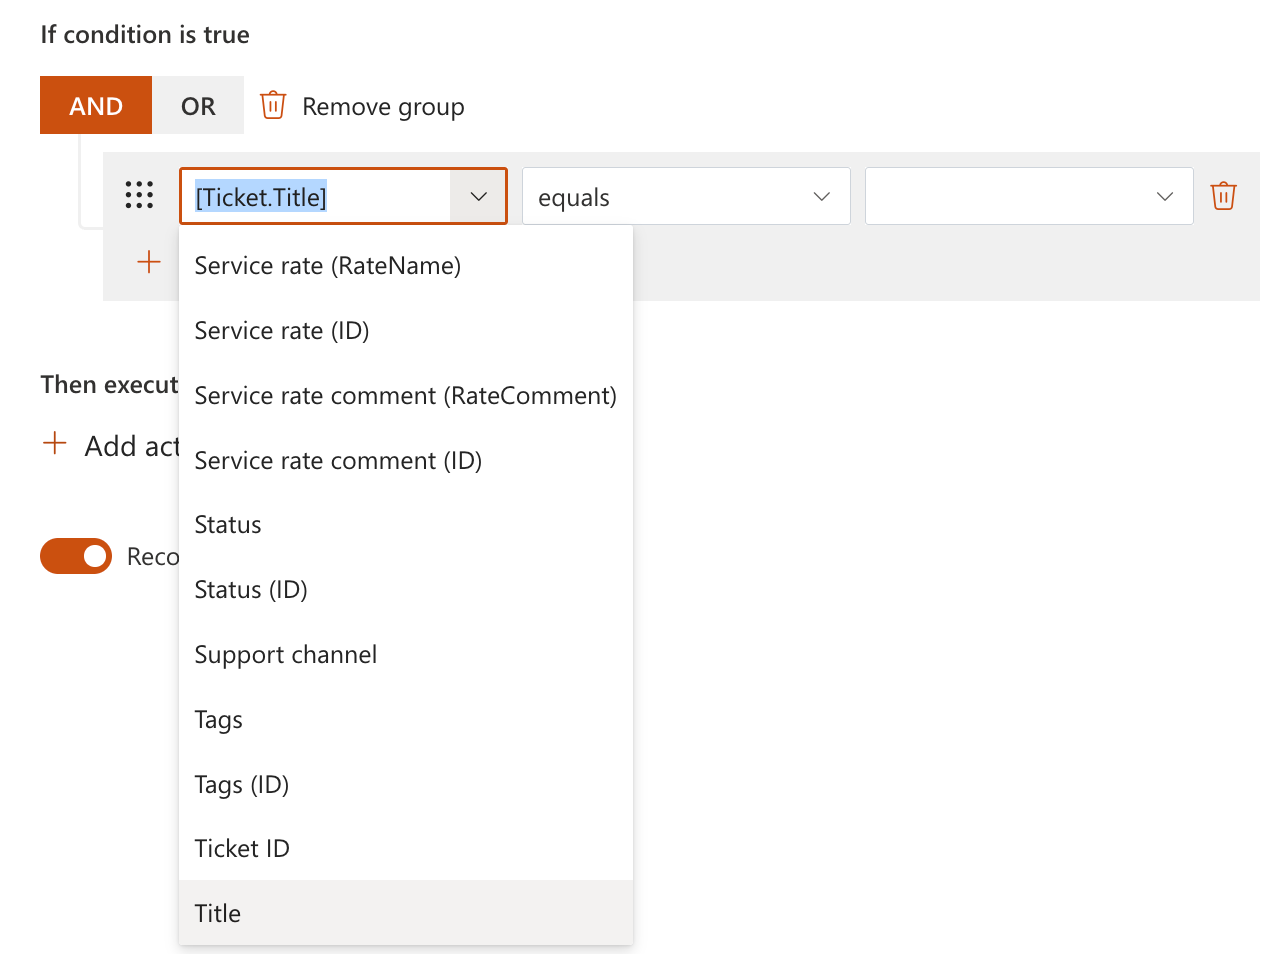
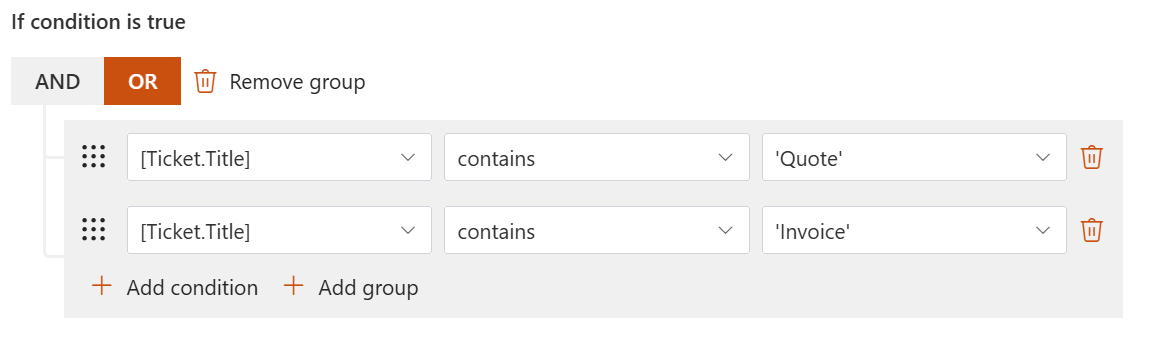
Let’s check whether the title of a newly created ticket contains such keywords as Quote or Invoice to identify it as a sales ticket.
Select [Ticket.Title] in the left dropdown and type the keywords in the right part of each condition.
The custom strings should be enclosed in single quotes for proper processing.
Also, set the operator to contains. Note that the operator is case-sensitive.
Actions
The main point of any trigger is to perform some actions. There can be as many actions as you need, and they can be arranged in the order you want. To add one, just click Add action.
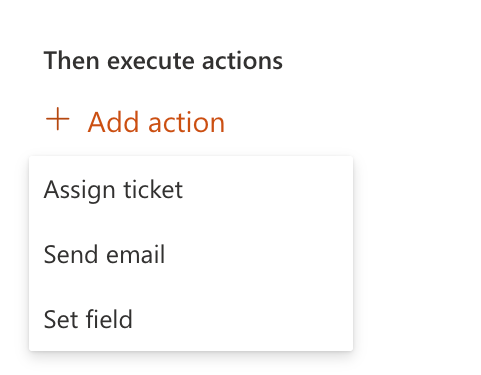
The available actions depend on the selected event. For Ticket was created, you can use:
Assign ticket to assign tickets to selected agents according to the configured assignment method;
Send email to send an email message based on a template populated with ticket data;
Set field to assign a value to a selected ticket field.
Change comment type to private is available only for the Comment has been created event.
For more information on the actions, check the article Actions reference.
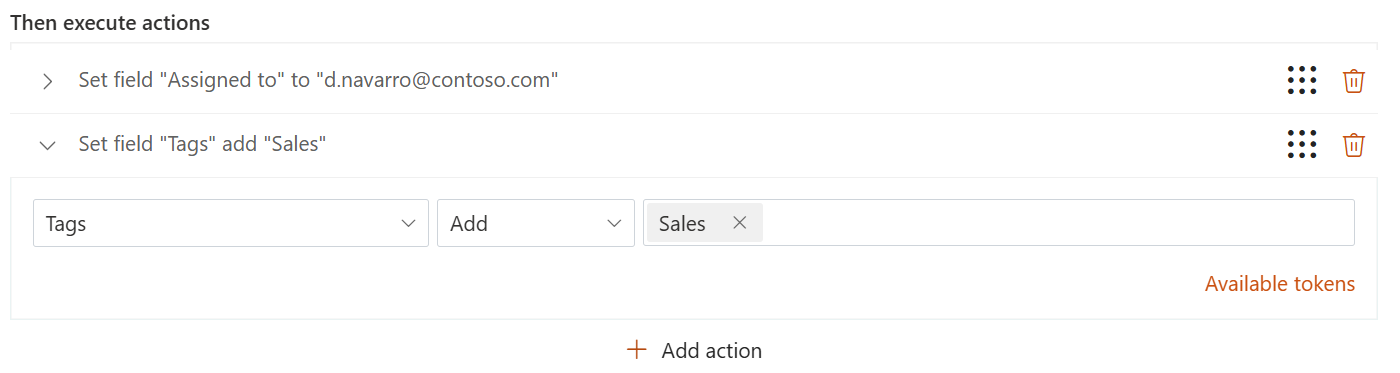
In this example, assign a ticket to a certain agent and tag it as Sales.
Set the “Assigned to” field to the email address of the agent responsible for sales tickets.
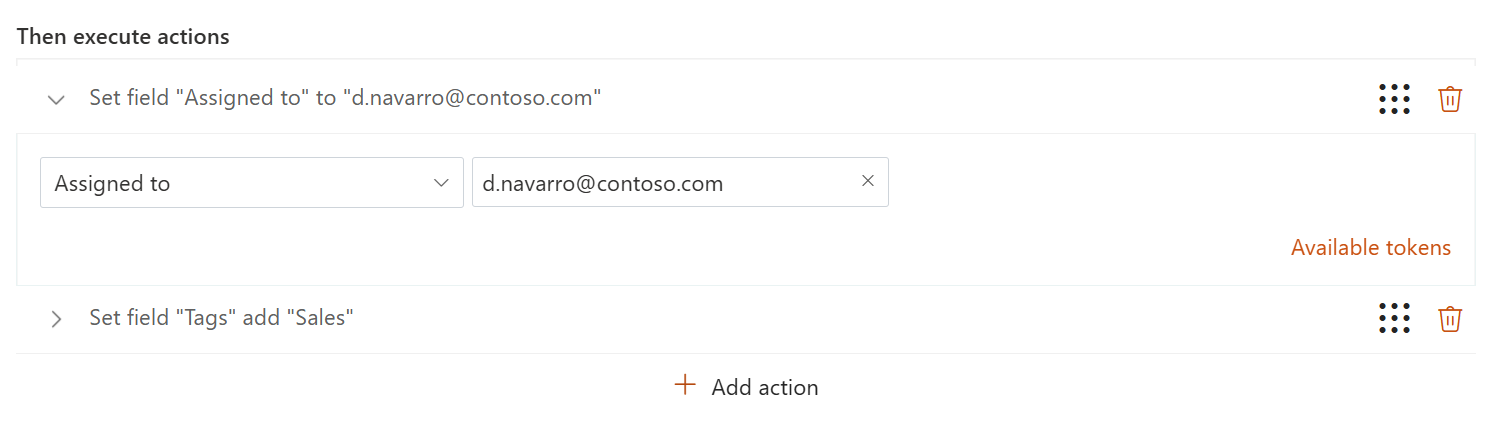
Then, add another action and set the “Tags” field to the Sales value.
After saving, the trigger is ready for use.
Trigger execution order
HelpDesk triggers work sequentially. The sequence is defined by the order of the triggers.
For example, when a ticket is created, HelpDesk runs the triggers in the order:
Notification: All Agents - New ticket
Notification: Requester - New ticket
Notification: Assignee - New ticket
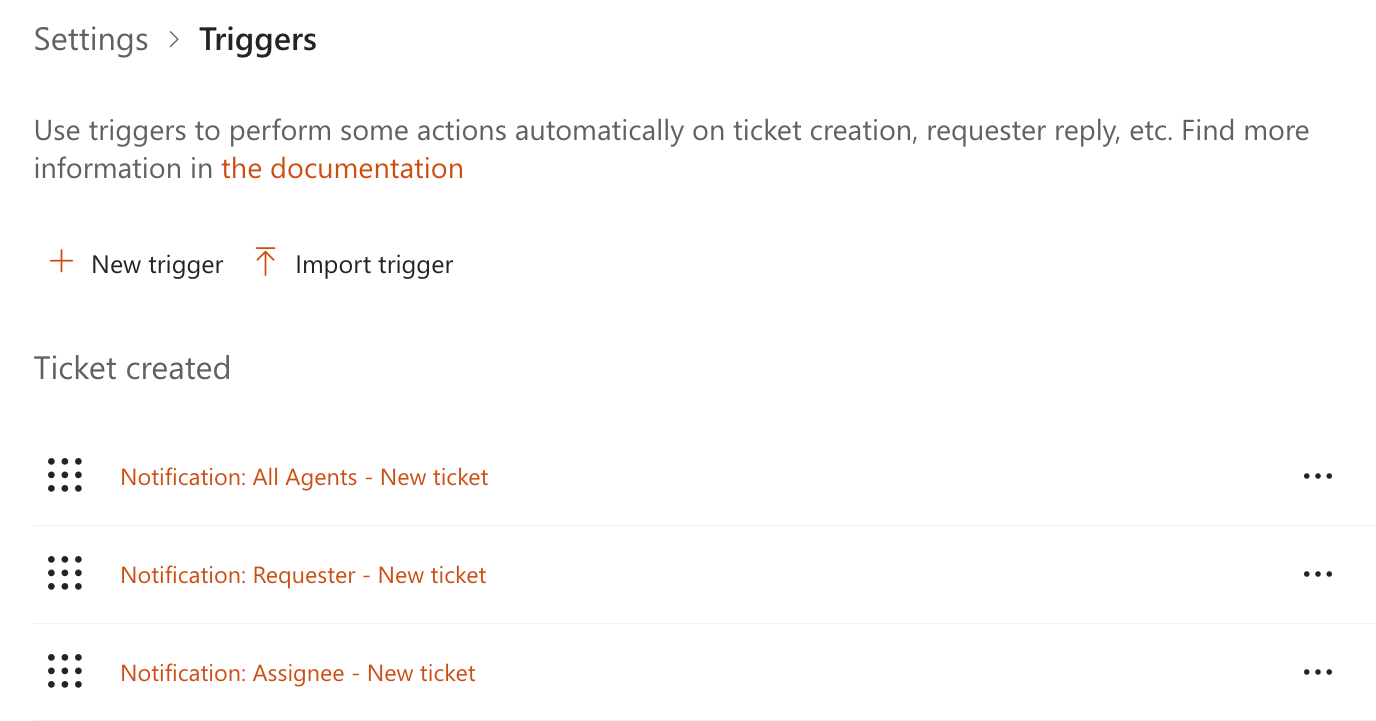
To change the order, drag the triggers in the list.

Similarly, you can order triggers in the Ticket updated and Comment created sections.
Import/export triggers
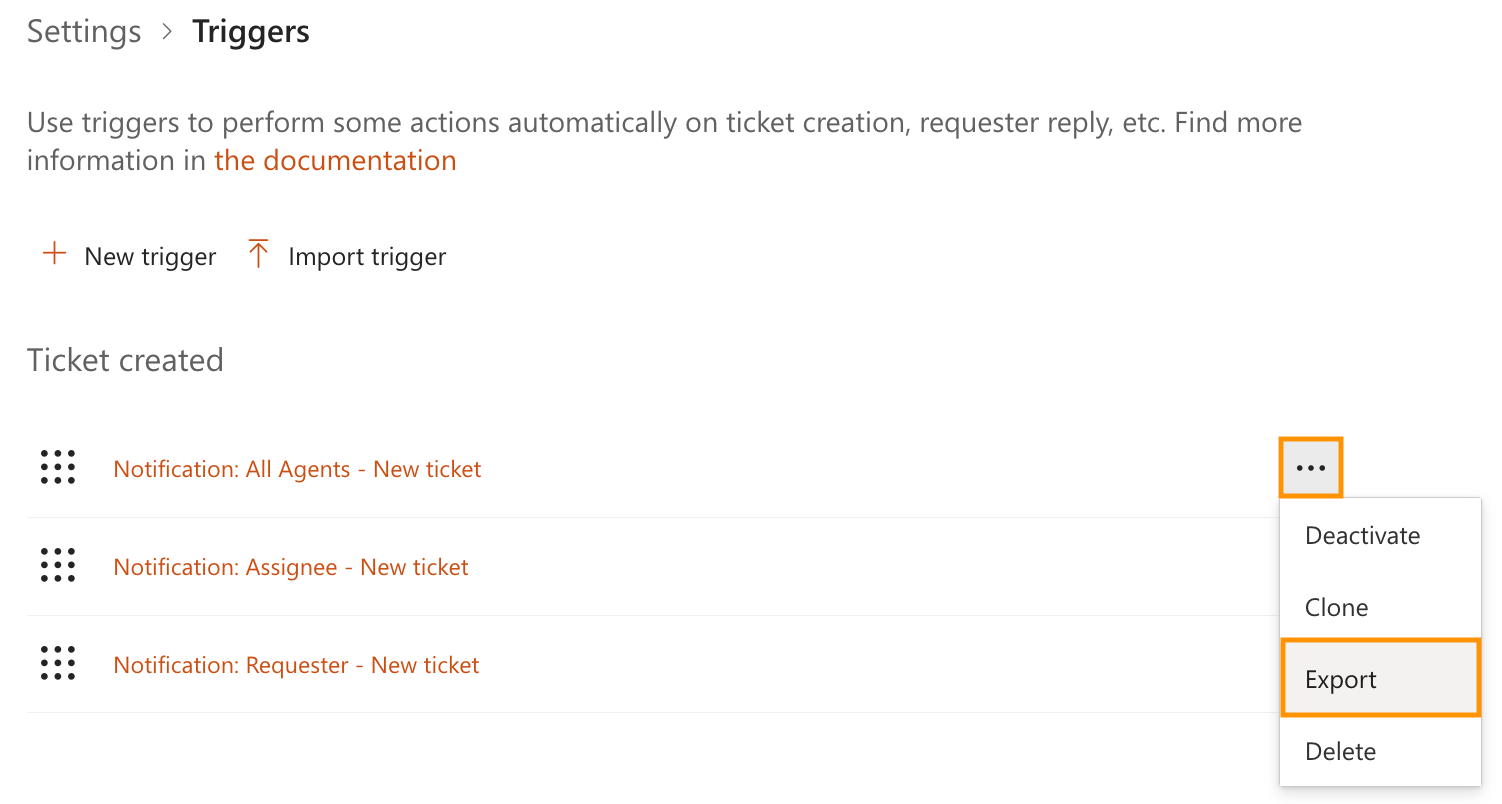
Triggers can be exported to JSON files. To do this, click the menu button to the right of a trigger and select Export.
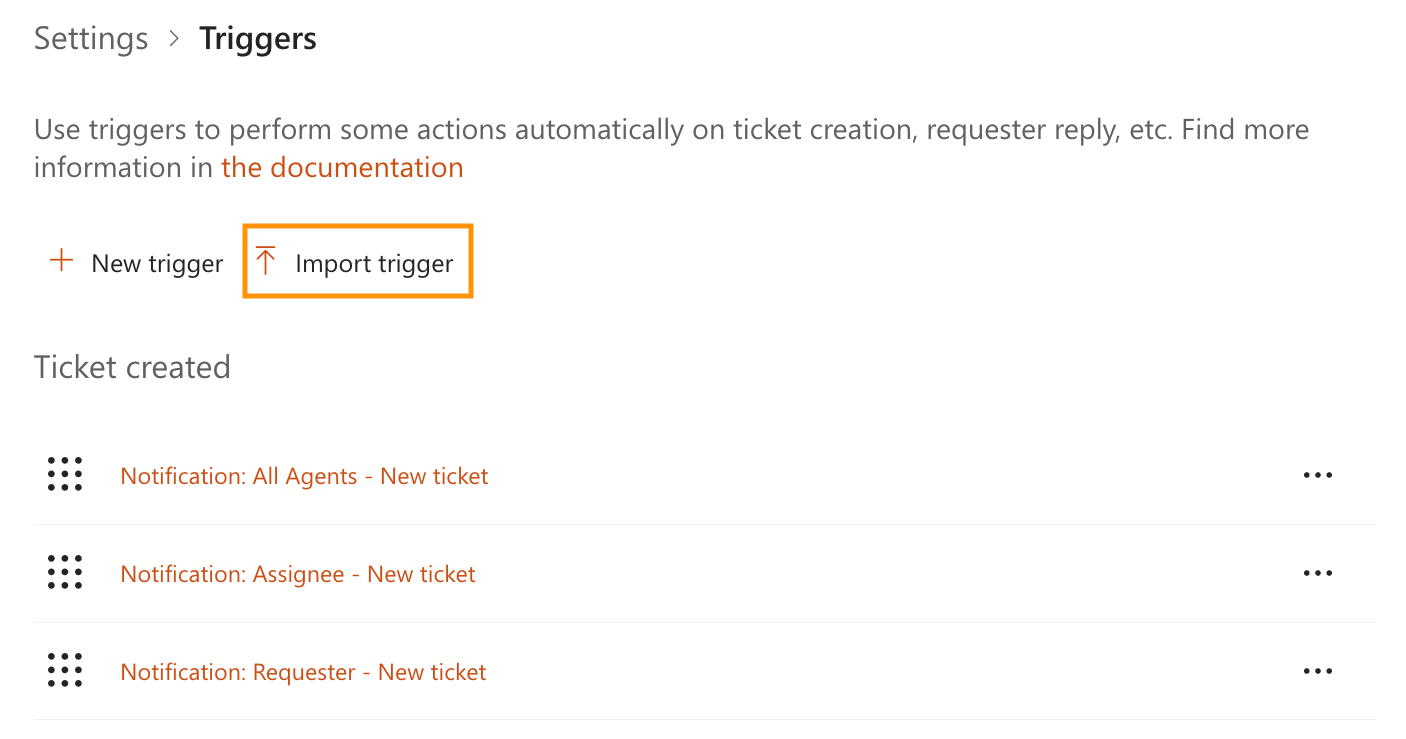
To import a trigger, click Import trigger near the top of the page.
Learn more
You will find more useful information about triggers in the following articles: